A couple weeks ago, I shared the start of a project. Here's an update:
Traditions and all that.
There are possibly a very limited number of extras. Speak up if you'd like to be on the receiving end!
November 27, 2012
November 23, 2012
Nerves
Back in March, I announced my intentions of a personal Wardrobe Improvement Project. I made myself a single shirt and then there were clothes for Caitlyn and garden things and summer and harvest and preserving. Nothing else for me.
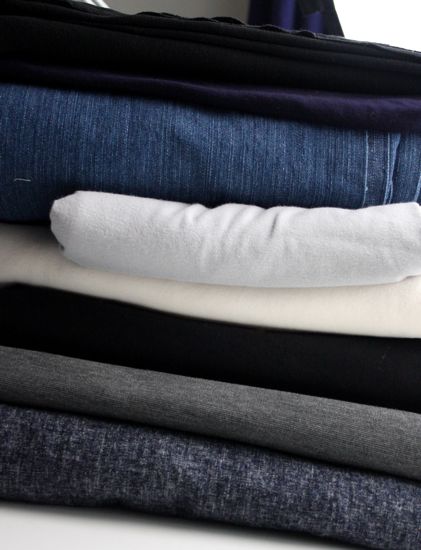
Which is not to say that I've abandoned the idea. This pile is all intended to end up in my closet:
There is a pair of jeans, a pair of black twill pants, a skirt, a cardigan, three other tops, and a possible scarf in this pile. Of course, it's all just potential at this point. I haven't actually done anything. I've just been collecting fabric and ideas. I've been reading and watching Cindy and Sunni and Steph.
Honestly, I'm a little scared to get started.
What if I can't make things fit me? What if I don't like the look of something after it's all done? What if I flub things up because I'm following a contemporary pattern that doesn't recommend the ideal seam finish or include recommendations for lining (or underlining) something?
I know the solution here is to just get started. I know (in my head, not so much with experience) about tissue-fitting and muslins. But I'm still nervous.
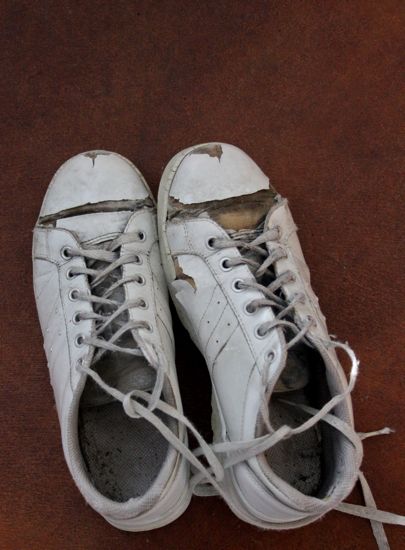
But if I don't get started soon, more of my wardrobe is going to look like these shoes:
And we can't have that, now, can we?
November 20, 2012
A Small Side Project
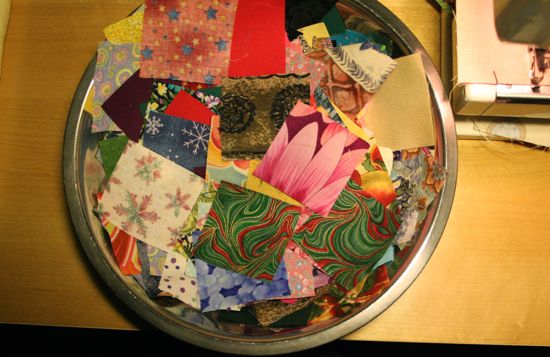
I've stumbled upon a little block swap and have, perhaps foolishly, added one more thing to my sewing queue. The Postage Stamp Block Swap is making scrappy postage stamp blocks (duh!) for swapping. I've gone through my scrap basket and found at least 12 blocks of stamps, reducing the size of the scrap basket pile by about half. (Sure, there's more in the basket, but using all of it would result in blocks that weren't "scrappy" so much as "mostly made from one fabric".)
My other postage stamp quilt from 2011 is about half-way quilted. It needs quilting in the borders, which I've been thinking I would do in loops or curves or maybe in something that could be interpreted as flowers. Which means I need to do some trial/practice quilting on something else first. Which is why the quilt's not done. Or so I tell myself.
Not sure if these new scrappy swapped postage stamp blocks will ultimately end up in a quilt by themselves or if I'll try to combine them with this summer's siggy blocks. I really like this layout option, but the relative sizes of the blocks might make it, well, not impossible but weird. I guess I'll find out in the spring!
November 14, 2012
Tangle Storage
I've recently discovered Zentangle (it's Jackie's fault). And someday, perhaps, I'll show some of my tangles. Not yet, though.
More relevantly, I decided that I didn't want to carry my tangling supplies around in a beat-up gallon ziploc kitchen escapee. I'm probably breaking all sorts of tangle etiquette by not tangling in a more meditative fashion. Oh, well. Maybe when I'm all grown up I'll figure out how to get up before dawn, write 1000 words, do 30 minutes of aerobic exercise, center myself with a tangle, and be all peaceful, productive smiles for my family at breakfast.
Apparently, I'm not grown up yet.
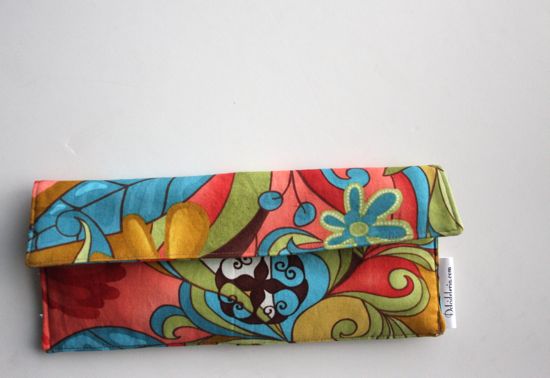
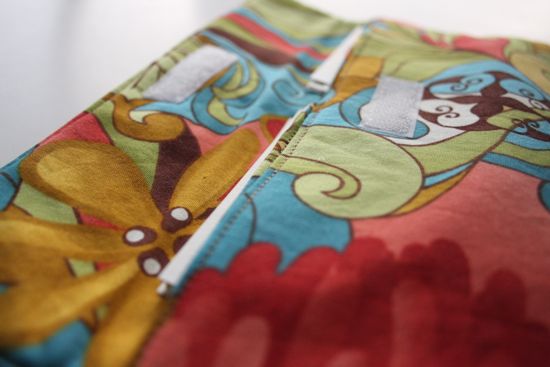
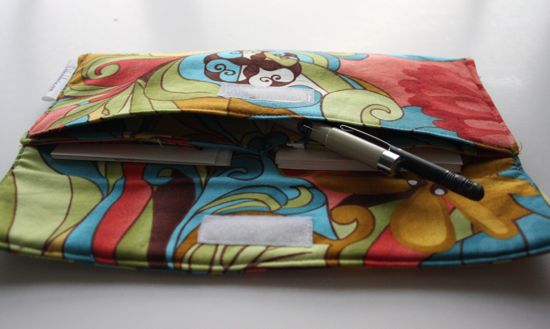
Anyway. I made a pocket for my tangles.
Maybe it's more of a wallet?
I borrowed liberally from the folded card wallet tutorial at Trillium Designs but then kinda did my own thing. This version is wider, has two tangle tile sized pockets, and has an extra added pocket for pens.
It's not perfect yet. It's too wide. Maybe I should have quilted the whole thing before assembly. The pen pocket seems excessively deep, but the top flap of the whole would need to be longer to close things up if the pen pocket were shallower. Maybe I should have put the pen pocket on the back with it's own velcro?
If I made it less wide and converted the two tile sized pockets to three credit card sized pockets, I bet it would make a nice, simple wallet. Maybe I'll try to take it even smaller, just big enough for some cash and an id, still small enough to fit in a pocket for a trip to the farmers' market.
Maybe I'll make too many of these pockets, getting it just right, trying out each new idea.
Maybe this is how I'll end up with an online store.
November 12, 2012
It's that time again
Anyone want to guess what I'm working on?
A limited selection of bonus points are available to those who want to play along!
November 08, 2012
Investments
When Grandma came to town over the summer, she very generously took Caitlyn shopping. It was August, so the back-to-school, autumn/winter clothes weren't available but the summer dresses were pretty well picked over. We found two floral dresses, both with straps instead of sleeves so we could put long sleeves under them for warmth.
Sadly, the first time we washed them, one of the dresses not only shrank almost to the point of unwearablity, but its straps nearly frayed themselves out of their anchor points. I've tacked the straps back down and I think the dress will last through the school year, but not much longer than that.
This dress, on the other hand, I made four years ago.
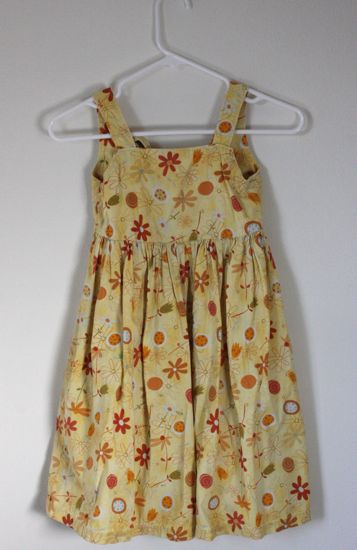
Caitlyn wore this yellow dress for her school pictures during her second year of preschool. I know this because it's an absurdly cute picture of her, fists on her hips, ready to take on everything. I deliberately made it long for her at the time and I've let the hem down twice. I've had to re-anchor the straps once, in the process letting them out just a little.
Caitlyn is seven now, not the three years old she was when I made this dress. She's a lot taller now than she used to be. There's no more hem to let out. Time to retire the dress?
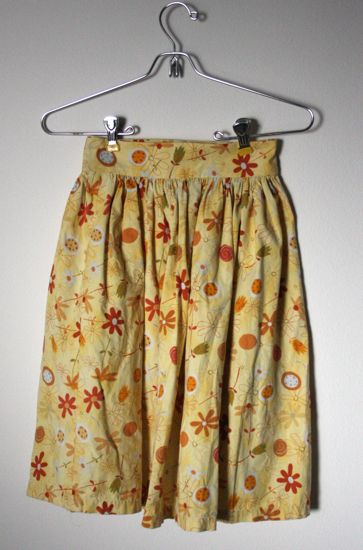
No, I think we can make it work a little longer. Much like with the purple dress-to skirt conversion this spring, I turned the dress' bodice into a waistband, this time cutting off the curve at the bottom front of the bodice. There's a lot of unpicking in the process, what with the zig-zagging, the waist seam, the rows of gathering stitches.
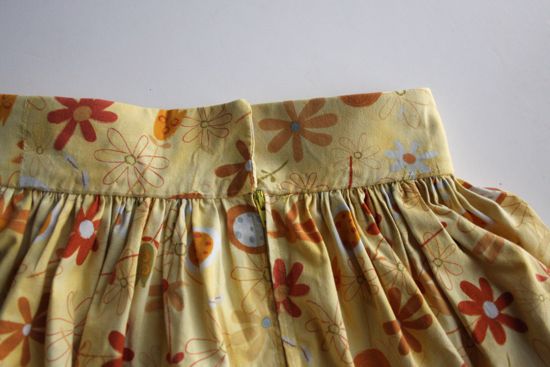
I am really pleased with the waistband this time around. It's a little shorter than I wanted but that's hardly a big deal. Look at how tidy it looks, all lined up with the zipper (which had to come out and be reinserted)!
The big flaw? That waistband is about an inch too big. It's cut down from the original circumference of the dress' bodice, but not quite far enough. The skirt doesn't fall off when Caitlyn wears it, but it's going to be awfully drafty under there this winter.
The plus side? The skirt is no longer too short. This process took me a day or two, and I've just added at least two more years to this garment's lifespan (assuming Caitlyn doesn't tear the fabric while up a tree or something). When the waist is too tight and the skirt is too short (again), she'll be about nine or ten, maybe eleven. And I will have gotten seven years or more of wear out of one handmade dress.
Forgive me if I'm feeling just a little smug!
November 06, 2012
Everything in its Bag
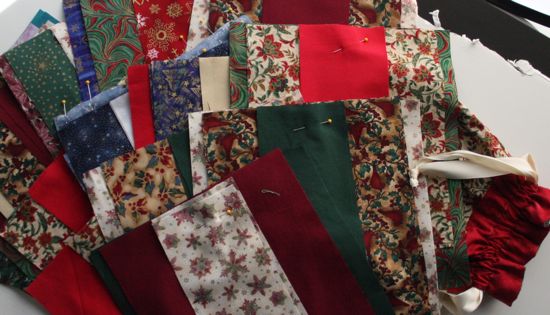
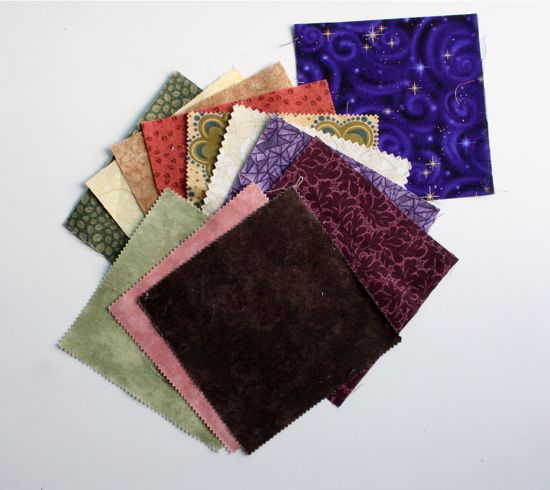
Remember these?
They are the Charming Travelers that stayed here when the rest of them moved on to GrammieQ.
Want to know what I did with them? Or, at least most of them?
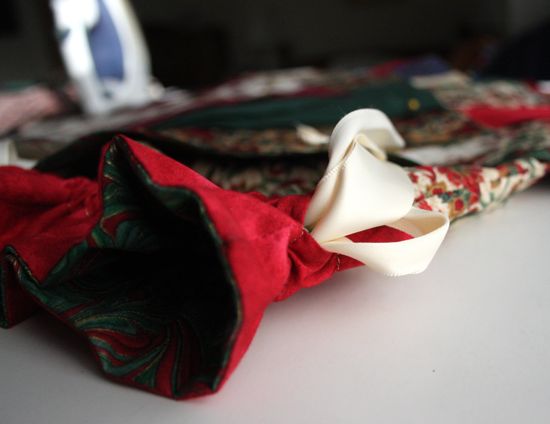
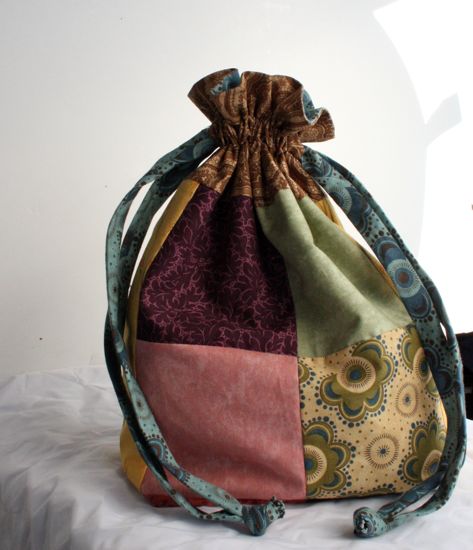
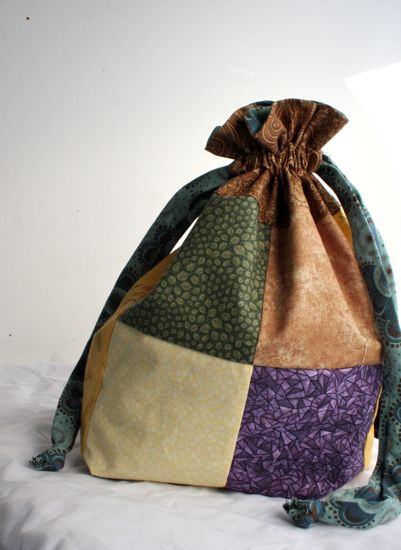
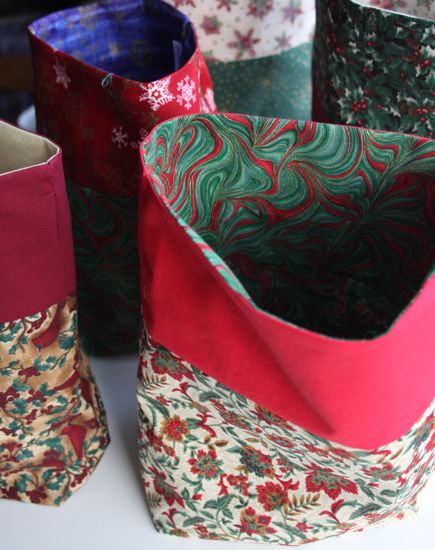
A project bag!
See the tan floral-ish square in the lower right? That's the charm that influenced all my choices. I used the blue colorway of this fabric to back a quilt a couple years ago. So the arrival of this other color meant I was going to do something that brought both colorways together.
The blue version of the fabric is the lining inside the bag (which you can't really see in these photos) as well as the fabric drawstring. I used 10 of the selected Charming Travelers for the outside and added in a couple other pieces from my stash. The bag is Jeni's Lined Drawstring Bag pattern, which I use all the time. I like bags, it seems.
I've put my cross-stitch project in this bag. Something about not having my portable projects in beat up, gallon size freezer bags makes me unreasonably happy.
(No pictures of the cross-stitch project; I expect it'll take me years to do. Although maybe I should take a photo of it at the same time every year, like I mark Caitlyn's height on her closet wall around her birthday every year. Should I mark the passage of Februaries in photos of my cross-stitch tiger?)
November 01, 2012
Now with 3 pounds of candy
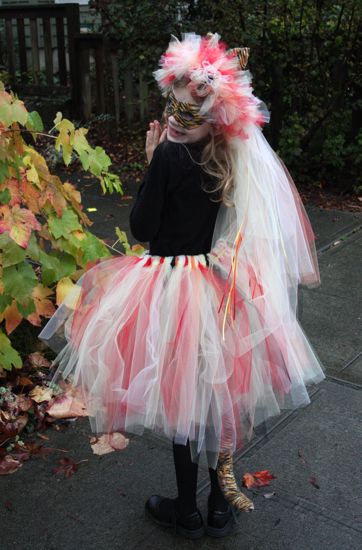
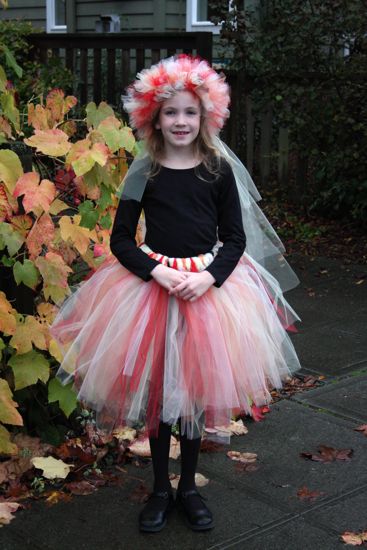
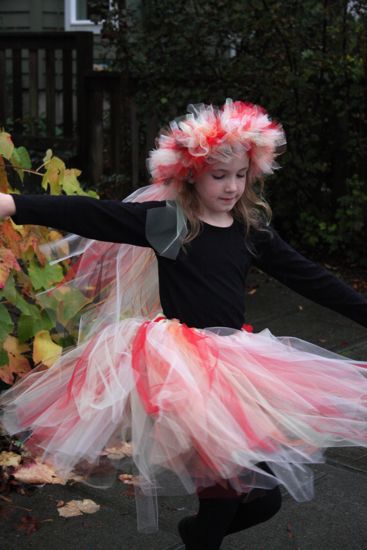
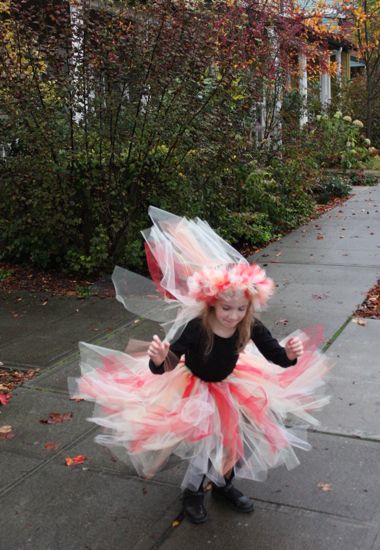
This year's costume started out as one of our projects from Craftsy's Costume Box class. The colors were partly determined by a small box of beads, partly by what colors of tulle were available the day we went shopping. After seeing what we had, Caitlyn and I agreed that this was a Fire Fairy costume. I don't think we were thinking of Halloween at all when we got started, but then that was months ago.
Caitlyn, of course, wants everything that's in the Costume Box. So far, we've got this skirt and crown pair and her sword. There are more crowns, lots of wands, assorted wings, and a cloak as well. If we could have pulled off everything that went into Caitlyn's planned costume before Halloween, Caitlyn would have been thrilled. She also would have gone trick-or-treating not so much as a fairy but as a walking pile of fabric.
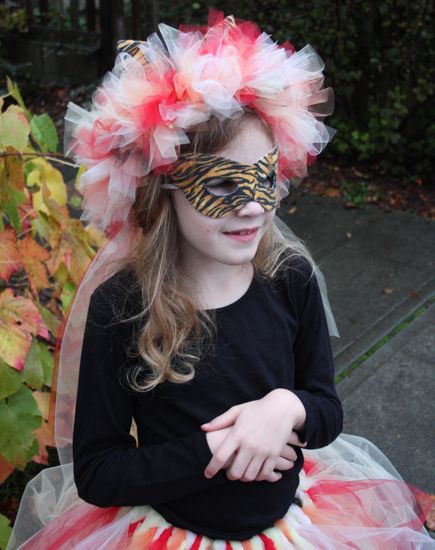
But as we got closer to Halloween, it became clear that all the chosen projects were beyond what we could do in the time we had. Caitlyn, quite reasonably, volunteered to skip the wand and the wings. Instead, she added in elements from her tiger costume from 3 years ago and became a Fire Cat.
The combination of fairy skirt and cat mask worked out much better than I thought it would. I didn't think she could wear her crown and her ears at the same time; shows you what I know. There were lots of compliments from the neighborhood on the costume, and I got to tell people that Caitlyn did most of the work herself. She tied all that tulle; all I did was cut things to the proper length and remind her to stay focused. So proud!
(Oh, and because I now have a kitchen scale, I weighed Caitlyn's trick-or-treating take for the night. I don't have anything to compare it with, but 3+ pounds of candy seems like a lot. We live in a very generous neighborhood.)
Subscribe to:
Posts (Atom)