
March is my month to lead Sew.Quilt.Give. It's probably unnecessary for the bee participants, but I'm taking the opportunity to write a tutorial for my chosen block, the Square in Square block. It's a first for me (the tutorial writing, not the block), so if you have any constructive feedback, please share!
 This block is a variation on the traditional Log Cabin block. Kinda a bummer that it has such a ho-hum name, I think; other log cabin variations include Courthouse Steps, Pineapple, Bricklayer, and Housetop. But "Square in Square" is an accurate, if not terribly poetic, description. It's a super simple block to make, with lots of room for customization.
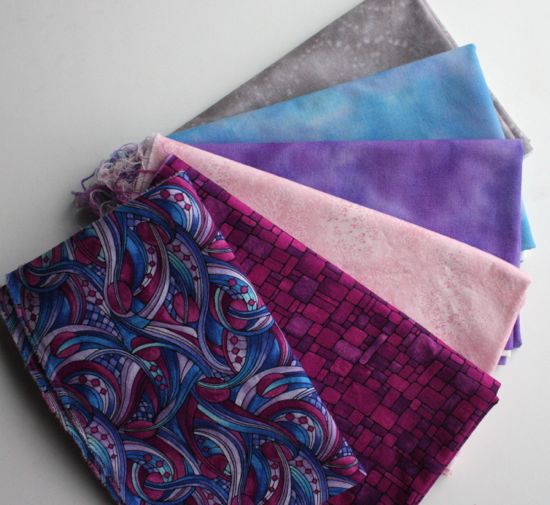 Here's the fabric I'm using. Starting from the gray and working up: Tokyo by Red Rooster Fabrics; Perfect Palette in blue and purple from Fabric Freedom of London; Fusions in pink from Robert Kaufman; and two designs from Light Fantastic from Fabric Freedom of London. I found all of these at Pacific Fabrics, one of my local quilt fabric stores. This is more fabric than you'll need, but I like to have options when I work.
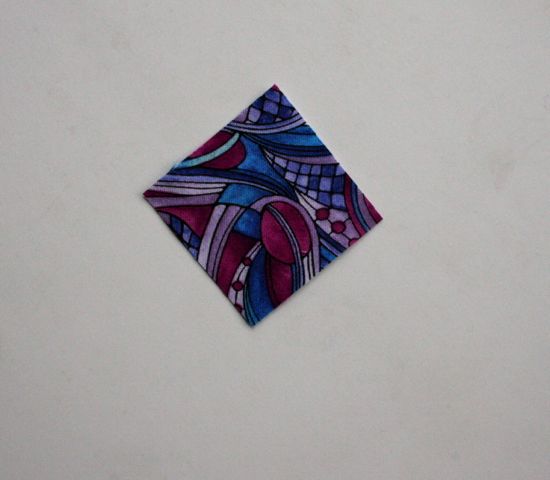 Start with a square. This one is 2 inches square. You can go bigger or smaller, as you like.
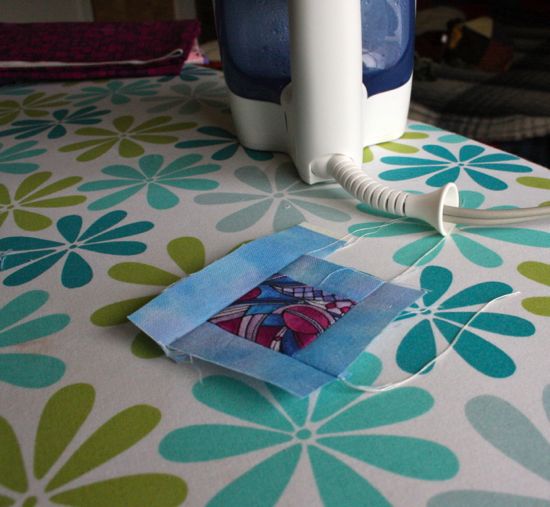
Choose the color of your next "square". It'll be made up of four "logs" around your center square, and all four logs will be from the same fabric. The logs can be any width that makes you happy.
I like to cut a strip in the width of my logs, sew the strip to one side of the center square, press well (I arbitrarily chose to press the seams toward the center), and then trim the strip to the proper size.
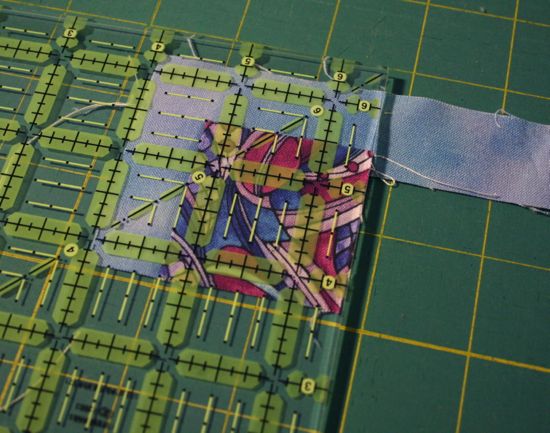 Keep adding the strip to each side of the center square, taking a moment between each addition to press and trim the strip as needed. Trimming as you go makes for a more improv feel while assembling the block and requires less planning and calculation. Be careful that you don't accidentally trim wonky and sacrifice your squareness!
Press well and often as you work. This makes things so much easier!
 First round done! Now, repeat the last few steps for the next round. Choose your color, choose your log width, cut your strip(s), sew, press, trim, repeat.
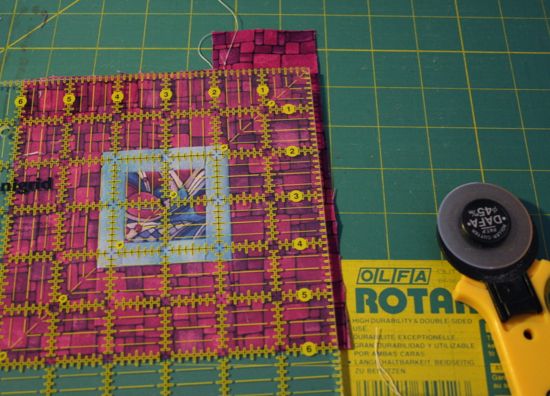 Don't forget to square up as you go. You want the whole block to stay square throughout the process (although wonky might be fun in a different project!)
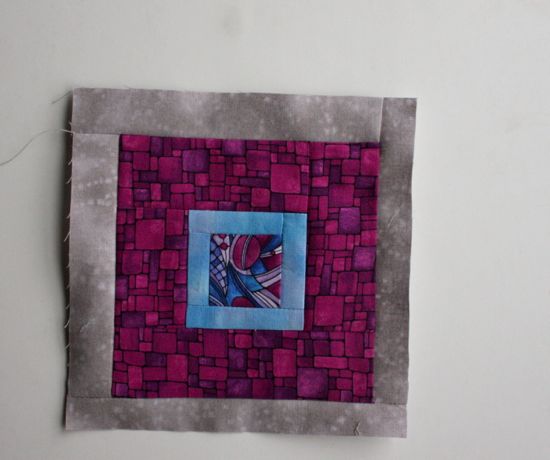 Three rounds done! With this gray "square", I added just a touch of irregularity. Two of my gray logs are just the tiniest bit thinner than the other two. It's a very subtle effect. If you choose to use it, be extra careful when you square up. It's really easy to trim off the extra width!
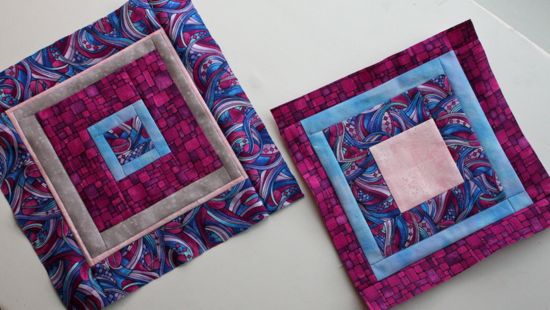
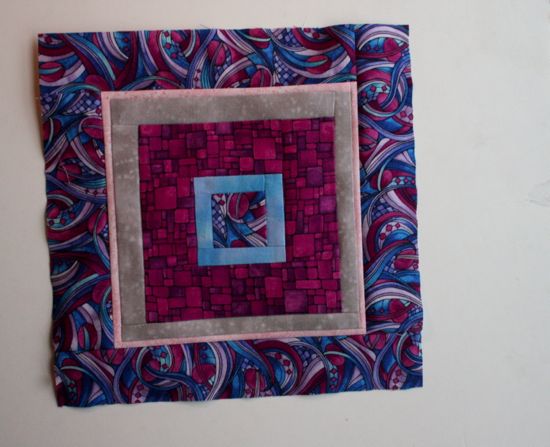 Five rounds done, and this block is about 10.5 inches square. That seemed a good place to stop.
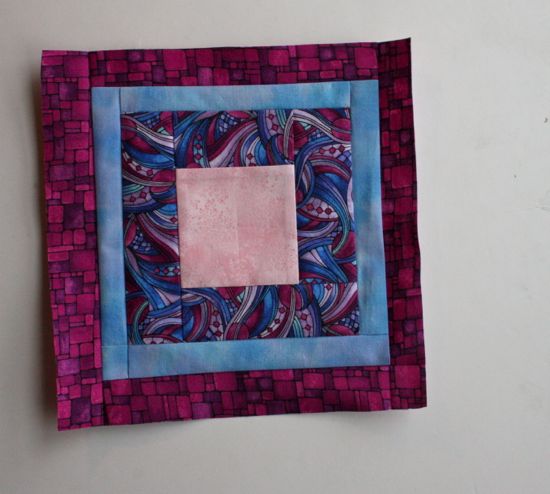 Same process, different block. This one started with a larger center square, used fewer rounds and finished about 8 inches square.
For Sew.Quilt.Give's March quilt, I'd like to take lots of Square in Square blocks and set them on point in a neutral background field. I sent all bee participants a fat quarter of the swirled feature fabric used here. Please use this fabric and add whatever other coordinating fabrics you'd like. Finished blocks should measure anywhere from 6 to 10.5 inches square. I'll add the final round of logs to each block so that we end up with a uniform background color. Please do at least three rounds of any width; if you choose to make a round or two uneven, please keep it subtle and avoid wonkiness. At least two blocks from everyone, please!
Let me know if you have questions, either about the bee or the tutorial. Enjoy!
No comments:
Post a Comment