Back in July, we took a two week road trip to break in Caitlyn's passport. I mean, Canada is
right there. How is it that we hadn't gone yet???
So we raided the library, mixed up some gorp/trail mix, loaded the car and embarked on a trip that turned out to be mostly about boats, trees, and swimming in everything possible. Here are a few highlights:
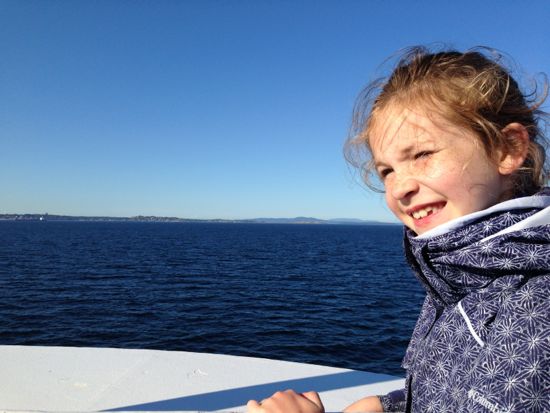
Caitlyn sights Canada.
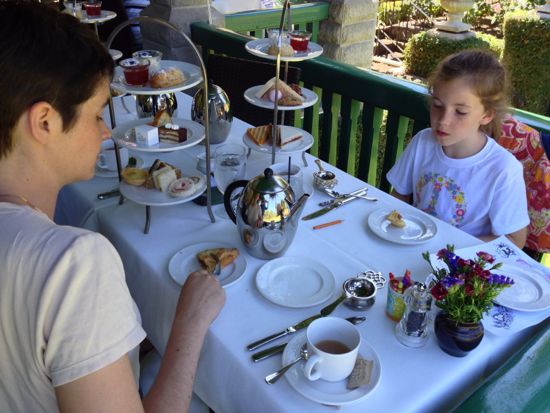
We enjoyed an afternoon tea at
Butchart Gardens. Food and setting were lovely. I felt underdressed (but then anything short of
Lady Grantham would have left me feeling underdressed).
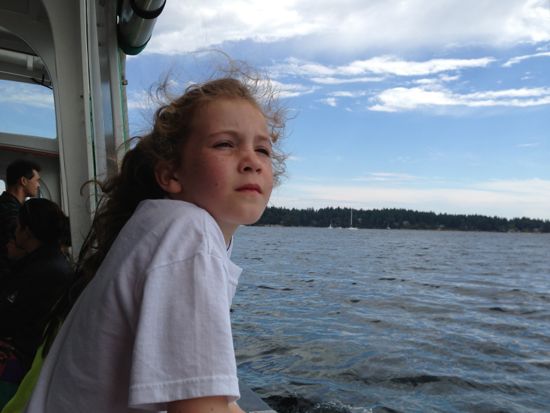
Our smallest non-human powered boat: the water taxi/ferry to
Newcastle Island from Nanaimo.
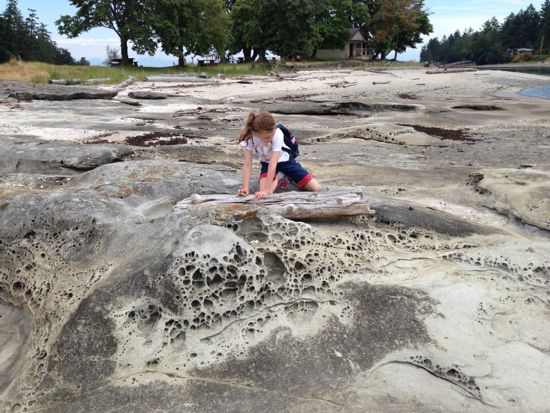
Exploring the shore at Newcastle Island Provincial Park.
 Little Qualicum Falls
 on our way west to the Pacific.
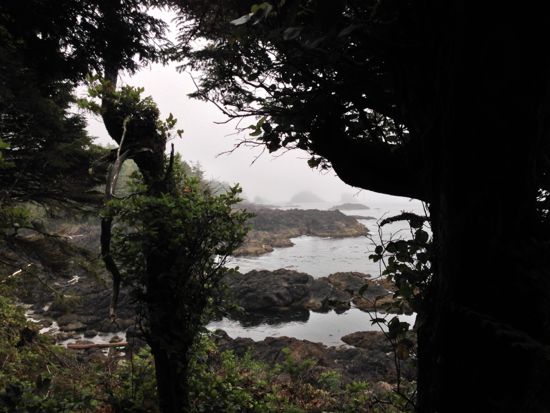
Morning fog on the
Wild Pacific Trail in Ucluelet on the Pacific Coast of Vancouver Island. The buoys and lighthouse fog horn called to each other incessantly, a bit like confused and lovesick seals.

The Bog Trail in the
Pacific Rim National Park between Ucluelet and Tofino. The trees are stunted and tiny but are actually quite old. Turns out, growing in salted, saturated soil is hard work.
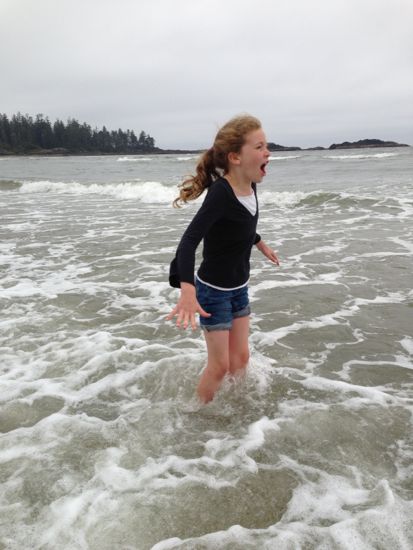
Caitlyn continues to think the Pacific Ocean isn't really all that cold.
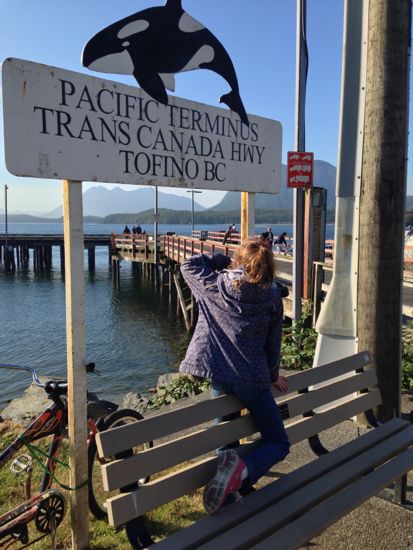
The end of the TransCanada Highway in Tofino. We stumbled on this while walking around town after some of the best burritos ever.
Tacofino is hard to find but worth it!

The Rainforest Trail, also in Pacific Rim National Park. Old growth and layers upon layers of green. Walking here will either make you believe in wood elves or convince you that Myst is a real place.
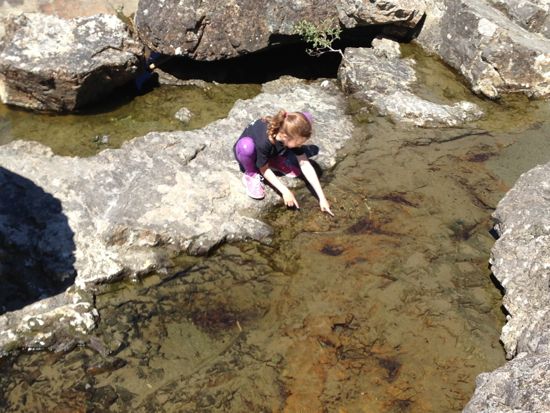
On the way east again we stopped for lunch at a wide spot in the road by a bend in a river. We picnicked, Caitlyn found tadpoles, and she and Ian swam in the river (quite a bit upstream of a waterfall but I was completely panicked the whole time, nonetheless). It was declared the best fresh-water swimming of our trip.
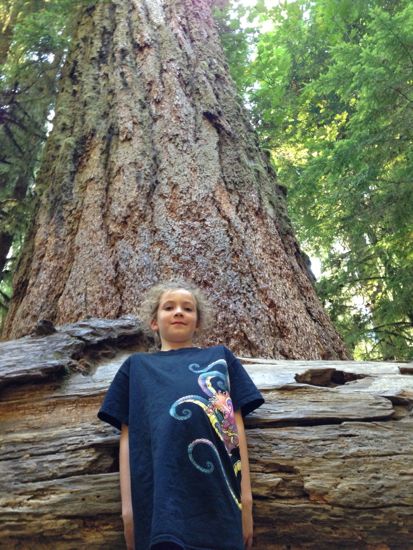
Old growth Douglas fir in
MacMillan Provincial Park. The tree is probably 800 or so years old. My favorite part was watching the other tourists' minds be blown by the size of the trees. I forget that most people haven't spent years with Coast Redwoods. Tall trees are awesome... and totally normal to me. I remember traveling to New York state as a teenager and thinking all the trees there were short!
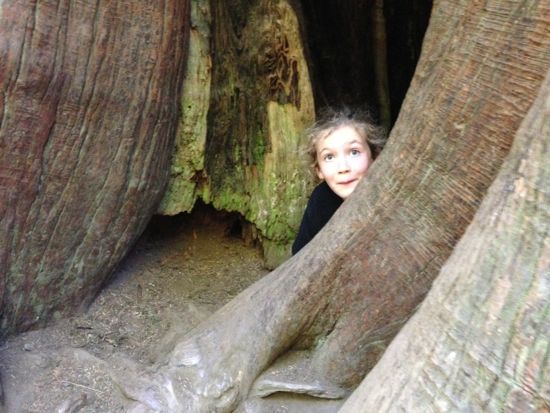
We kept spotting this strange little animal...
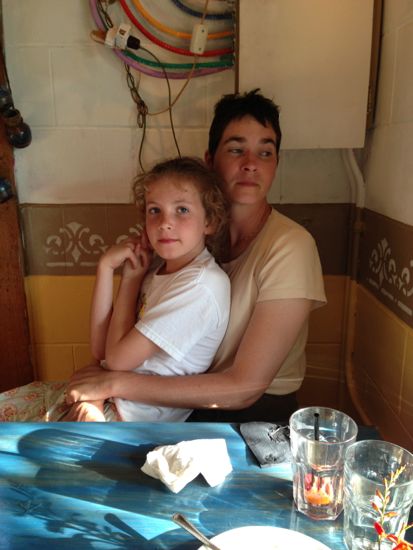
We caught a ferry from Comox and crossed over to Powell River and the Sunshine Coast. Dinner at
Costa del Sol was fabulous: good food, excellent drinks, in an adorable flower covered building.
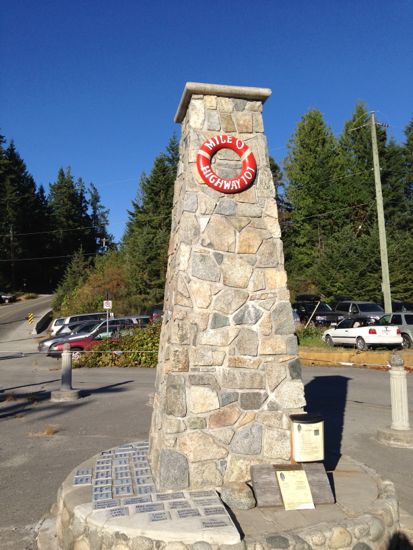
You're at the end of the road, again. This time, it's in Lund, on the Sunshine Coast (the west coast of mainland British Columbia). Also, it's Highway 101, which runs along the whole West Coast (US and Canada).

In Lund, we went on a kayak tour of the nearby coast.
TerraCentric runs guided tours, something especially nice for people who have never seriously sat in a kayak. It's tempting to say, "How hard can it be?" and that's just the sort of attitude that will land you stuck in a boat, upside-down, underwater. Having a guide with us meant we could look at the scenery (Eagles! Seals! Millions of purple sea stars!) and not think about where we were, how far we'd gone, or whether we'd be able to paddle back. I especially appreciated knowing that if something did go wrong and we ended up in the water, there was someone on hand who knew what to do to get us back out again.
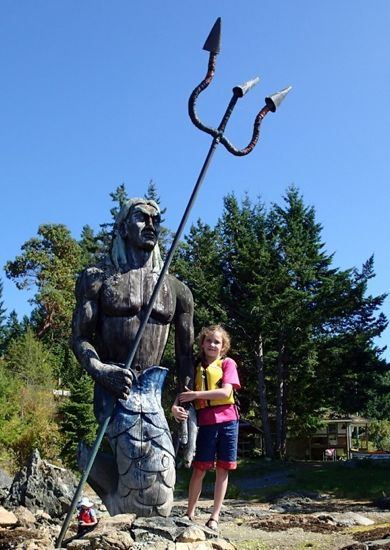
Caitlyn was especially taken with this statue of Poseidon. He rests on a tidal island. Caitlyn was able to walk out to him at the beginning of our kayak adventure; when we returned the tide was in and the water level was up to the curve in his tail. (Previous two photos by our TerraCentric guide, Tony Waters. Thanks Tony!)

We worked our way south along the coast toward Vancouver, taking a lot of ferries. This is the view from the sundeck of the run to Earl's Cover from Saltery Bay.
South of Earl's Cove, near Madeira Park, we found Francis Point Provincial Park. It's a relatively new park, with minimal parking and no services. But there's a walk to a bay for the best salt water swimming of our trip. Quiet, peaceful, unexpectedly warm, and lots of sea urchins.

Another ferry and we arrived in Vancouver. We stopped at UBC to check out their
Botanical Garden. They have a canopy walk where you can get up in the trees and look down at the understory. Fun change in perspective and amazing "tree-hugging" technology - a system to hold the weight of the visitors without damaging the trees. Think really big Chinese Finger Puzzles.
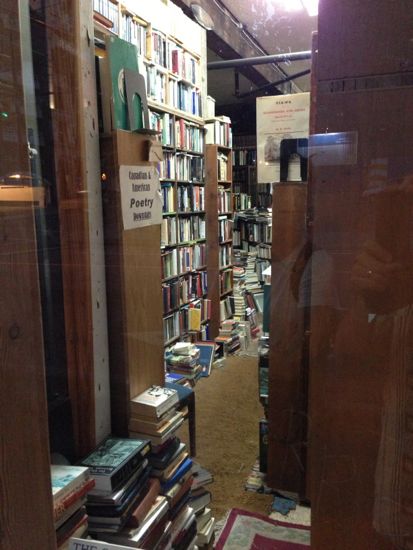
MacLeod's Books in Vancouver. This is the sort of bookstore people dream up to put in movies, where the books are piled on top of other piles of books and only the lone employee knows where everything is. But this is a real store, and it's really piles of books on piles of books. (See
this post for more pictures.) I bet the Vancouver Fire Chief has nightmares about this place.
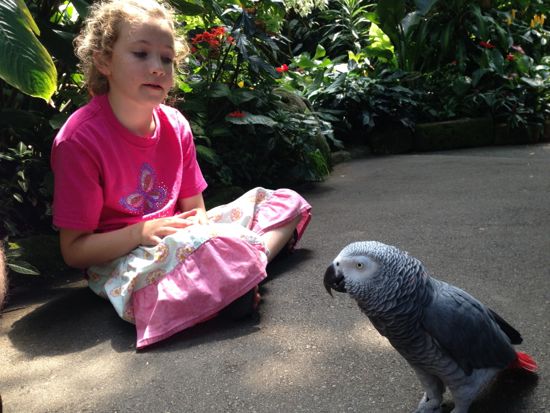
At the
Bloedel Conservatory in Queen Elizabeth Park, we had a nice long chat with Rosie, the African Gray Parrot. Rosie's not supposed to get off her perch but she apparently likes to go for walks.
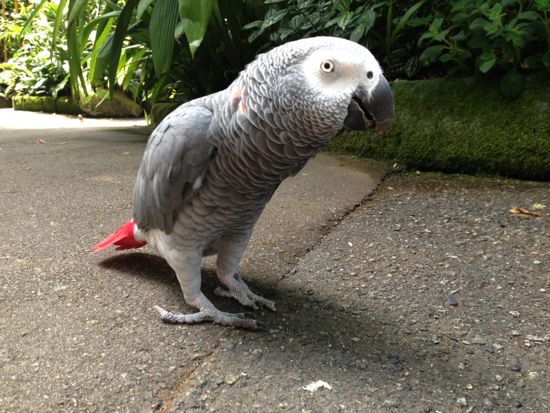
Both Ian and Caitlyn were able to sketch Rosie, who seems to have not gotten the notice that the Conservatory asks that visitors not touch the birds. She would walk right up to you and tuck her head, presenting her neck and back fro scratches. So tempting!
From Vancouver we continued south toward home, bringing with us a few more books, a bundle of fat quarters, and a new belt. We've demonstrated that we can go north, cross a border, and then come home again. Caitlyn's been exposed to non-US currency, an extensive bilingual system (an official one, not just the "Oh, I suppose we should post that in Spanish, too" that we do here the States), and the metric system for measuring distance, gas and milk. We've confirmed that we travel well, as long as we spend enough money to be sure everyone sleeps well at night. (We've also had a conversation or two about renting an RV and doing a Really Big Road Trip Around the US... which is either a brilliant idea or an insane one.)
Here's to summer and travel!

 Caitlyn sights Canada.
 We enjoyed an afternoon tea at
  Our smallest non-human powered boat: the water taxi/ferry to
  Exploring the shore at Newcastle Island Provincial Park.
 Morning fog on the
  The Bog Trail in the
  Caitlyn continues to think the Pacific Ocean isn't really all that cold.

 On the way east again we stopped for lunch at a wide spot in the road by a bend in a river. We picnicked, Caitlyn found tadpoles, and she and Ian swam in the river (quite a bit upstream of a waterfall but I was completely panicked the whole time, nonetheless). It was declared the best fresh-water swimming of our trip.
 Old growth Douglas fir in
  We kept spotting this strange little animal...
 We caught a ferry from Comox and crossed over to Powell River and the Sunshine Coast. Dinner at
  You're at the end of the road, again. This time, it's in Lund, on the Sunshine Coast (the west coast of mainland British Columbia). Also, it's Highway 101, which runs along the whole West Coast (US and Canada).
 In Lund, we went on a kayak tour of the nearby coast.
  Caitlyn was especially taken with this statue of Poseidon. He rests on a tidal island. Caitlyn was able to walk out to him at the beginning of our kayak adventure; when we returned the tide was in and the water level was up to the curve in his tail. (Previous two photos by our TerraCentric guide, Tony Waters. Thanks Tony!)
 We worked our way south along the coast toward Vancouver, taking a lot of ferries. This is the view from the sundeck of the run to Earl's Cover from Saltery Bay.
  Another ferry and we arrived in Vancouver. We stopped at UBC to check out their
  MacLeod's Books in Vancouver. This is the sort of bookstore people dream up to put in movies, where the books are piled on top of other piles of books and only the lone employee knows where everything is. But this is a real store, and it's really piles of books on piles of books. (See
  At the
  Both Ian and Caitlyn were able to sketch Rosie, who seems to have not gotten the notice that the Conservatory asks that visitors not touch the birds. She would walk right up to you and tuck her head, presenting her neck and back fro scratches. So tempting!