
'Course, none of us who work there were eligible to win, but that didn't stop us from making up some blocks of our own. And because I seem chronically unable to pick the simple project, I made up a complicated block called Blackford's Beauty. Had I ever made this one before? Was I using a clearly laid out pattern with easy measurements for the finished block size I needed? No and no.
I did take a bazillion pictures and write a tutorial for Stash's site for the block, though. I'm reposting the tutorial here for archival purposes.
------------------------------------------
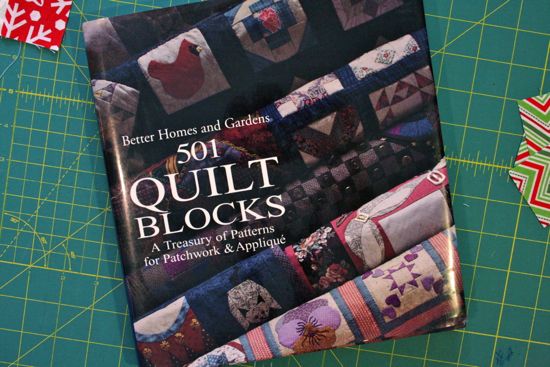
I found the block in this book, Better Homes and Gardens' 501 Quilt Blocks. I've had the book for years, but this may be the first time I've made a block from it. The blocks are all given in diagrams for 4 inch blocks, with minimal instructions. I ignored their instructions and adjusted the size for a 12.5 inch block (not really sure how that worked - I spent the entire time I was putting the block together sure I was going to end up too small!).
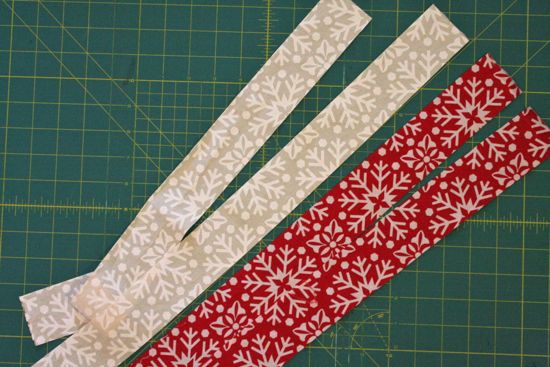
Start with 2 fat quarters and cut (2) 2 inch strips from each. It's not super important how long they are. I cut mine the width of the fat quarter, so they were probably about 22 inches.
Sew a white strip to a red strip, lengthwise. Press your seams however you like. I ended up pressing one way and then re-pressing a different way as needed later.
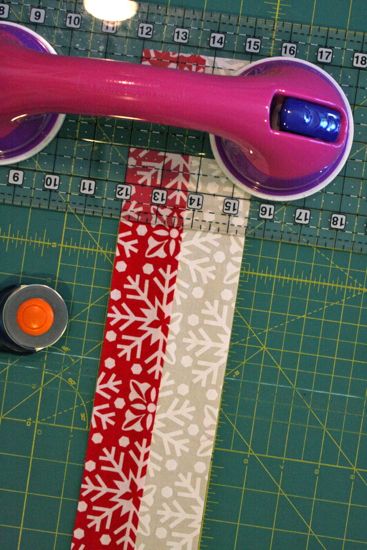
Cut 2 inch wide rectangles from your joined strip. They should be 2x3.5 inches. You'll need 8 of them.
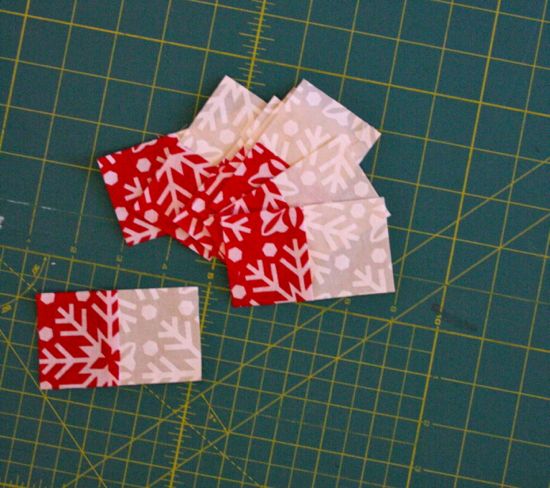
(If you like precision cutting, you can cut 2x2 squares from your strips and piece those. This strip piecing method is less fiddly, which, for me, means I get a nicer block. Use whatever method gives you the results you like best.)
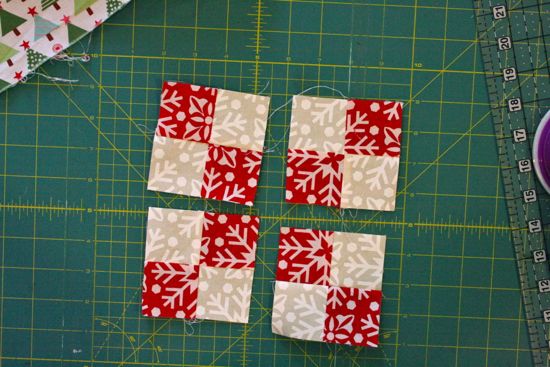
Assemble 4 patch units from your 8 rectangles. This is one place where I went back and repressed some of the seams. I like to have my seams pressed in opposite directions when I'm lining things up, since that usually means my points are less likely to slide around.
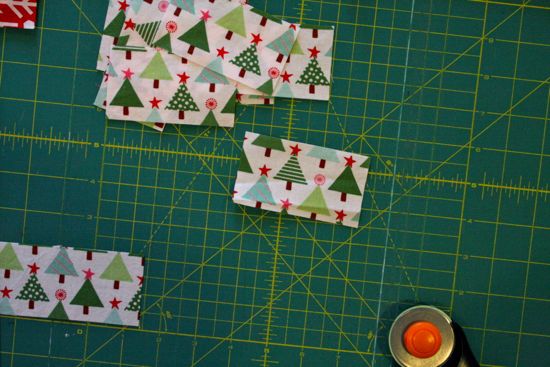
Set your 4 patch units aside for just a moment and cut a 2 inch strip from a new fabric. I used this tree print. From the strip, cut (8) 3.5 x 2 inch rectangles.
Add a tree rectangle to one side of each of your 4 patch units. If you've got a directional print (like these trees), pay attention to your orientations!
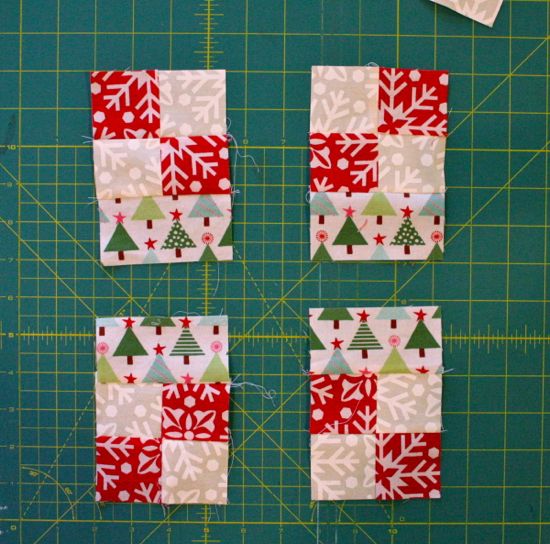
From the remaining white strip from before, cut (8) 2 x 2 inch squares. Add a white square to one end of each of the remaining 4 tree rectangles. Press your seam as you wish, or be like me and obsessively check the seam on the 4 patch unit, forget which way it goes and check it again before pressing this new seam.
Place your tree + white square rectangle units next to the 4 patch + tree units. Make sure your trees are all going in the right direction. It's much easier to change this now than later. Trust me on this. When you're sure you've got it right, sew the units together.
Ta-da! You're more than halfway done, believe it or not. Set these aside for now.
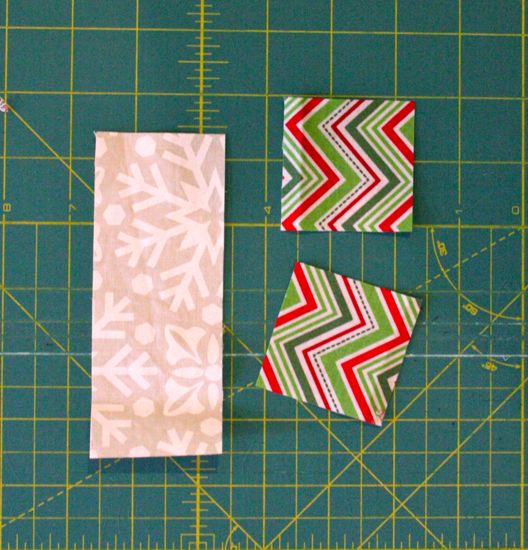
Next cut (4) 5 x 2 inch rectangles from the remaining white strip. Cut another 2 inch strip from the white fabric if you need to. Cut a 2 inch strip from a new fabric (I used these happy zig-zags). Then cut (16) 2 x 2 inch squares.

Draw a diagonal line, corner to corner, on the backs of all the squares.
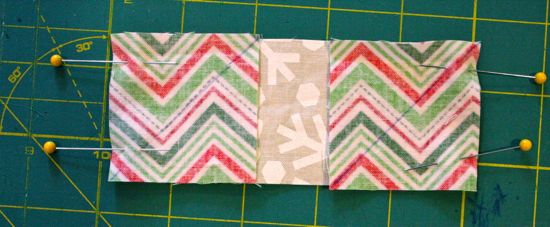
Add 2 zig-zag squares to either end of a white rectangle. Make sure your diagonal lines are parallel. Stitch just a hair toward the outside of the line you drew (this helps keep things properly sized). Flip your resulting triangle open and press. Trim off the excess.
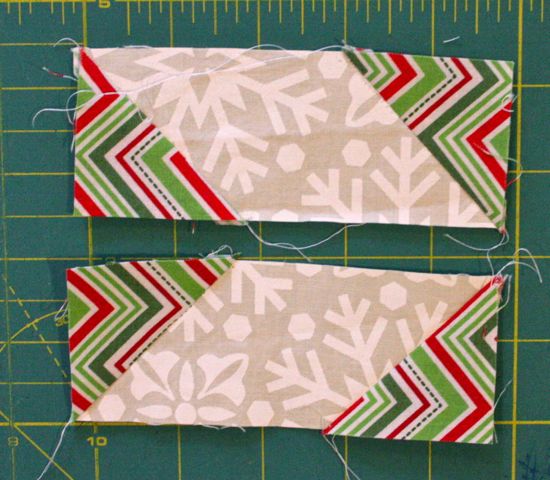
Don't get too carried away here! You'll want to make 4 units with the lines on the backs of the zig-zags pointing to the right and 4 more units with the lines pointing to the left. That way you'll get these "arrow" units when you stitch the resulting rectangles together.
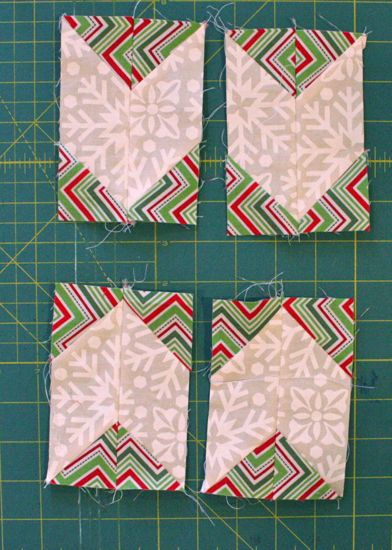
Like this! I totally didn't pay any attention to the direction of my zig-zags for this step, but I bet you could get some fun effects if you did.
Putting these "arrow" units together is another place where I got fussy about my pressing. If the seam allowances for the triangles point in opposite directions, I find it's a lot easier to get the points to match up.
Once the units are assembled, press the center seam open. This will minimize bulk in the final block.
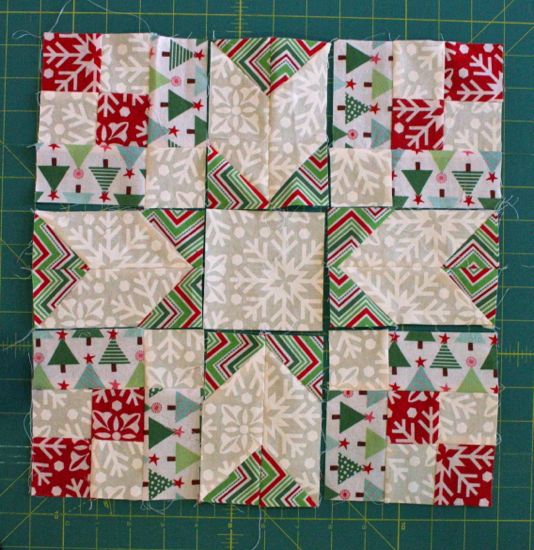
Cut one final piece, a 3.5 inch square for the center. Lay out all your units as above and assemble your block.
That wasn't so bad, was it? If I were going to make another one with this same fabric collection (Joy by Kate Spain for Moda), I think I'd drop the tree fabric and use a green instead. And I think I'd do the center square in red. But I'm just thinking out loud here...
-------------------------------------
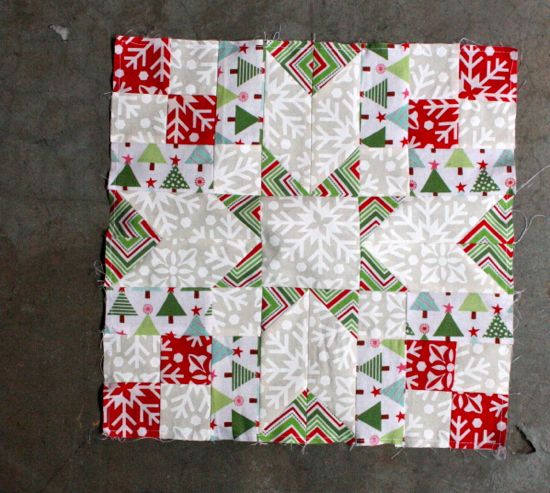
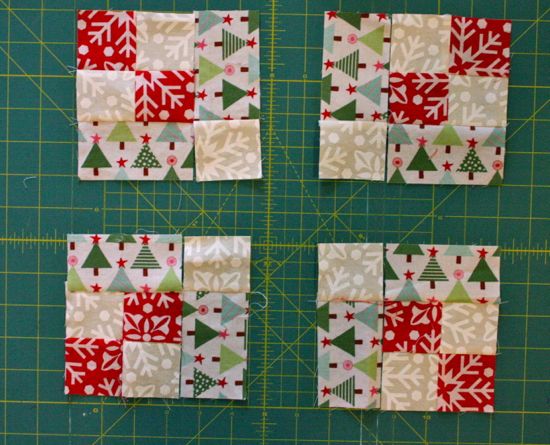
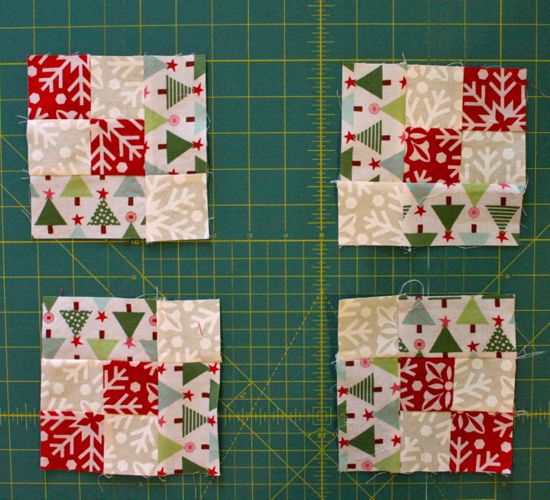
Yeah, now that I think about it again, I'd use different colors for this. When you put several blocks together, it needs a little something:

This is too monochromatic, especially for all the little fiddly bits that go into a block like this. The tree print doesn't work, the white snowflake on the red is too big for the pieces used, and the zig-zag is all weird. Maybe if I'd used the zig-zag in place of the trees, used a red with a smaller print, and perhaps the holiday lights instead of the zig-zags? Maybe doing the "arrow" units with different triangles at either end so that the stars and diamonds appear in different fabrics when arranged? Clearly, some sketching ahead of time would have been a good plan!
No comments:
Post a Comment